Vim + dotnet + Ubuntu + Windows Subsystem Linux
Nowadays with the addition of WSL, it’s possible to install Ubuntu directly on Windows, without emulating a virtual machine. Also, developing on unix based operating systems using the dotnet framework and C# is possible thanks to the dotnet core framework. The dotnet framework helps us to create, debug and build projects from the cli. And thanks to the integration of OmniSharper to various text editors, we can have a set of tooling that will help us to be a little more productive while coding with this framework, even in the console.
Let’s set up our environment to develop using the dotnet framework with vim on Ubuntu in WSL on Windows. Yes I know that this sounds crazy, but believe me we will learn a lot from this experience.
First of all we need to install Ubuntu on Windows subsystem Linux, for this we will need to enable the subsystem feature of windows with the help of Powershell, so let’s open Powershell as an administrator.
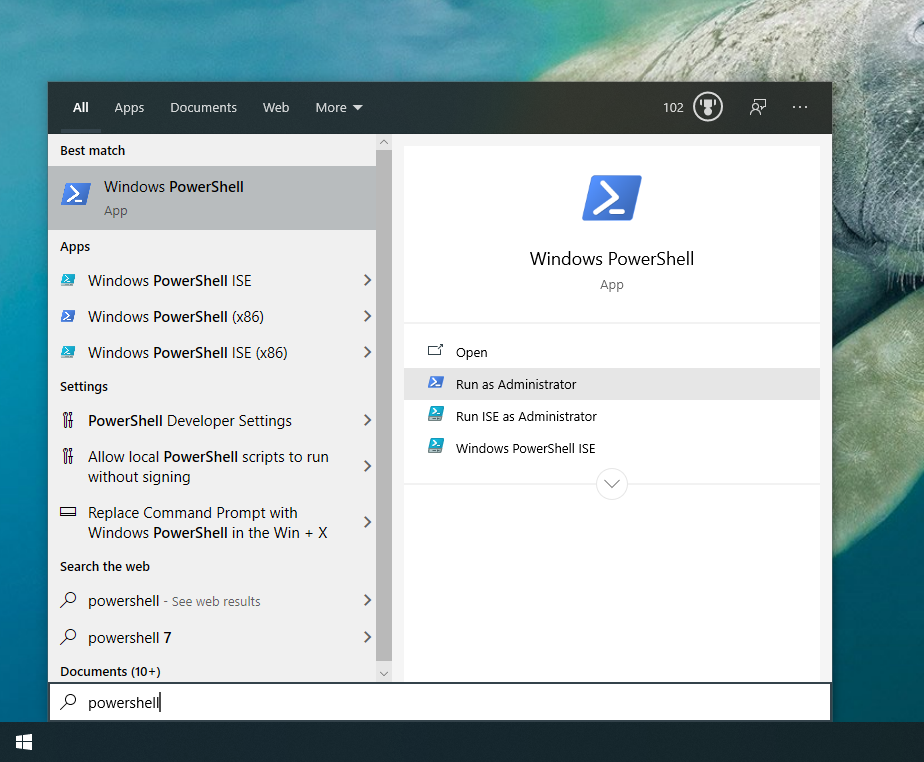
Once it’s open write the next line of code:
Enable-WindowsOptionalFeature -Online -FeatureName Microsoft-Windows-Subsystem-LinuxIt might ask you to restart your computer, and after that we will be able to install Ubuntu through the Microsoft Store.
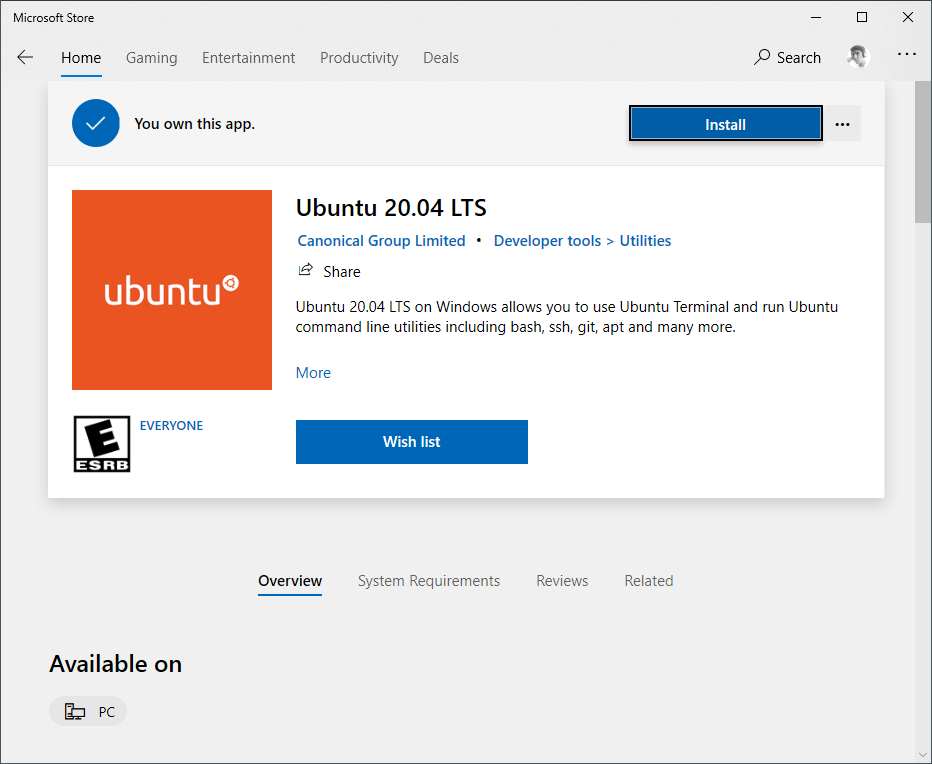
Open Ubuntu once it is installed, It will prompt you to write the password for the super user and to initialize the system.
The first thing we will need to do in Ubuntu is to update our apt-get sources with the next command:
sudo apt-get updateNow let’s install the dotnet core SDK. Remember that it can only be installed Ubuntu 20.04, 18.04 and 16.04. Those are the supported distributions. We will be using the 20.04 distribution for the example, if you intend to install other version, please refere to this link: https://docs.microsoft.com/en-us/dotnet/core/install/linux-ubuntu.
In the terminal write the following:
wget https://packages.microsoft.com/config/ubuntu/20.04/packages-microsoft-prod.deb -O packages-microsoft-prod.deb
sudo dpkg -i packages-microsoft-prod.deb
This will download the packages from the Microsoft site, to install the SDK run the following command:
sudo apt-get update; \
  sudo apt-get install -y apt-transport-https && \
  sudo apt-get update && \
  sudo apt-get install -y dotnet-sdk-3.1
We can verify the installation with the command: dotnet --version. It should prompt the version, mine is 3.1.403. Lets create a console application to be in the same page while we install everything else:
dotnet new console --name watermellonIt will create a folder with the name watermellon, inside the folder you can find the Program.cs file, that contains the main function of our console app. Now let’s open the file with vim, so we can compare it later.
cd watermellon/ && vim Program.cs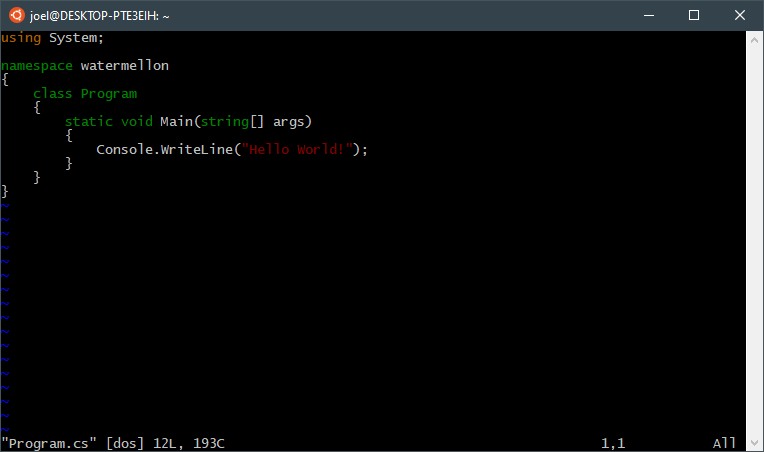
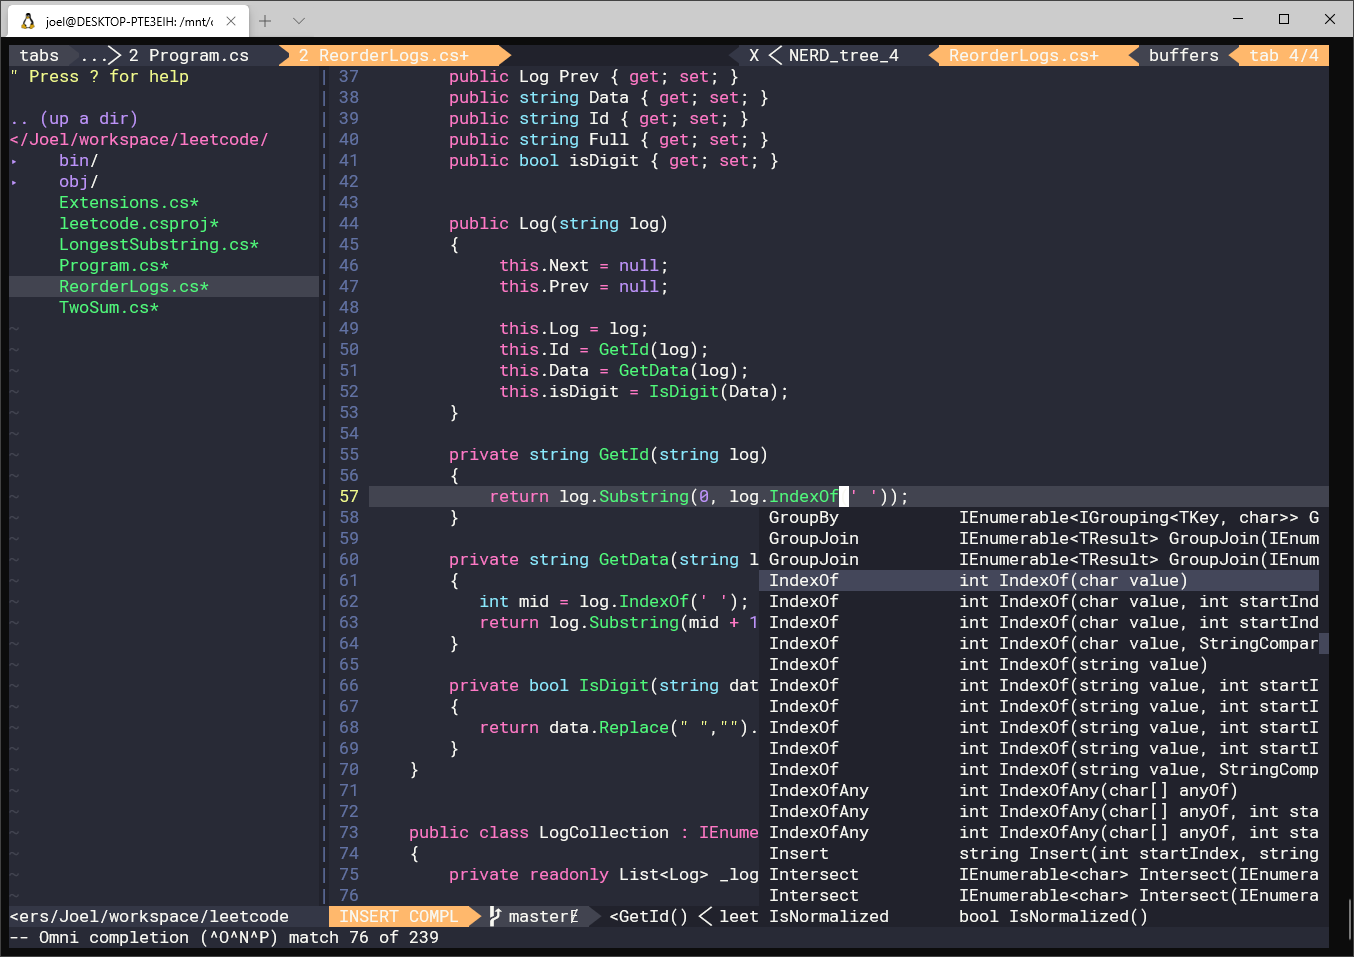
Vim editor is already installed in our system. As you can see, we are ready to start developing with this configuration, just make some modifications to the files and you can run the application with the command dotnet run. We can make our environment a lot better, but for this post is enough. In further post we will dive deeper in vim, and OmniSharper.
Further reading: